Getting Started
Residential, IPv6, and Datacenter Proxies
Follow the steps below to set up Residential Proxies with Scrapeless.
Once you’ve logged in, created a proxy channel, and verified your account, you can start using the service immediately.
The setup process is the same for Residential Proxies, IPv6 Proxies, and Datacenter Proxies.
Create an Account
- Click Sign Up and log in to access the Scrapeless Dashboard.
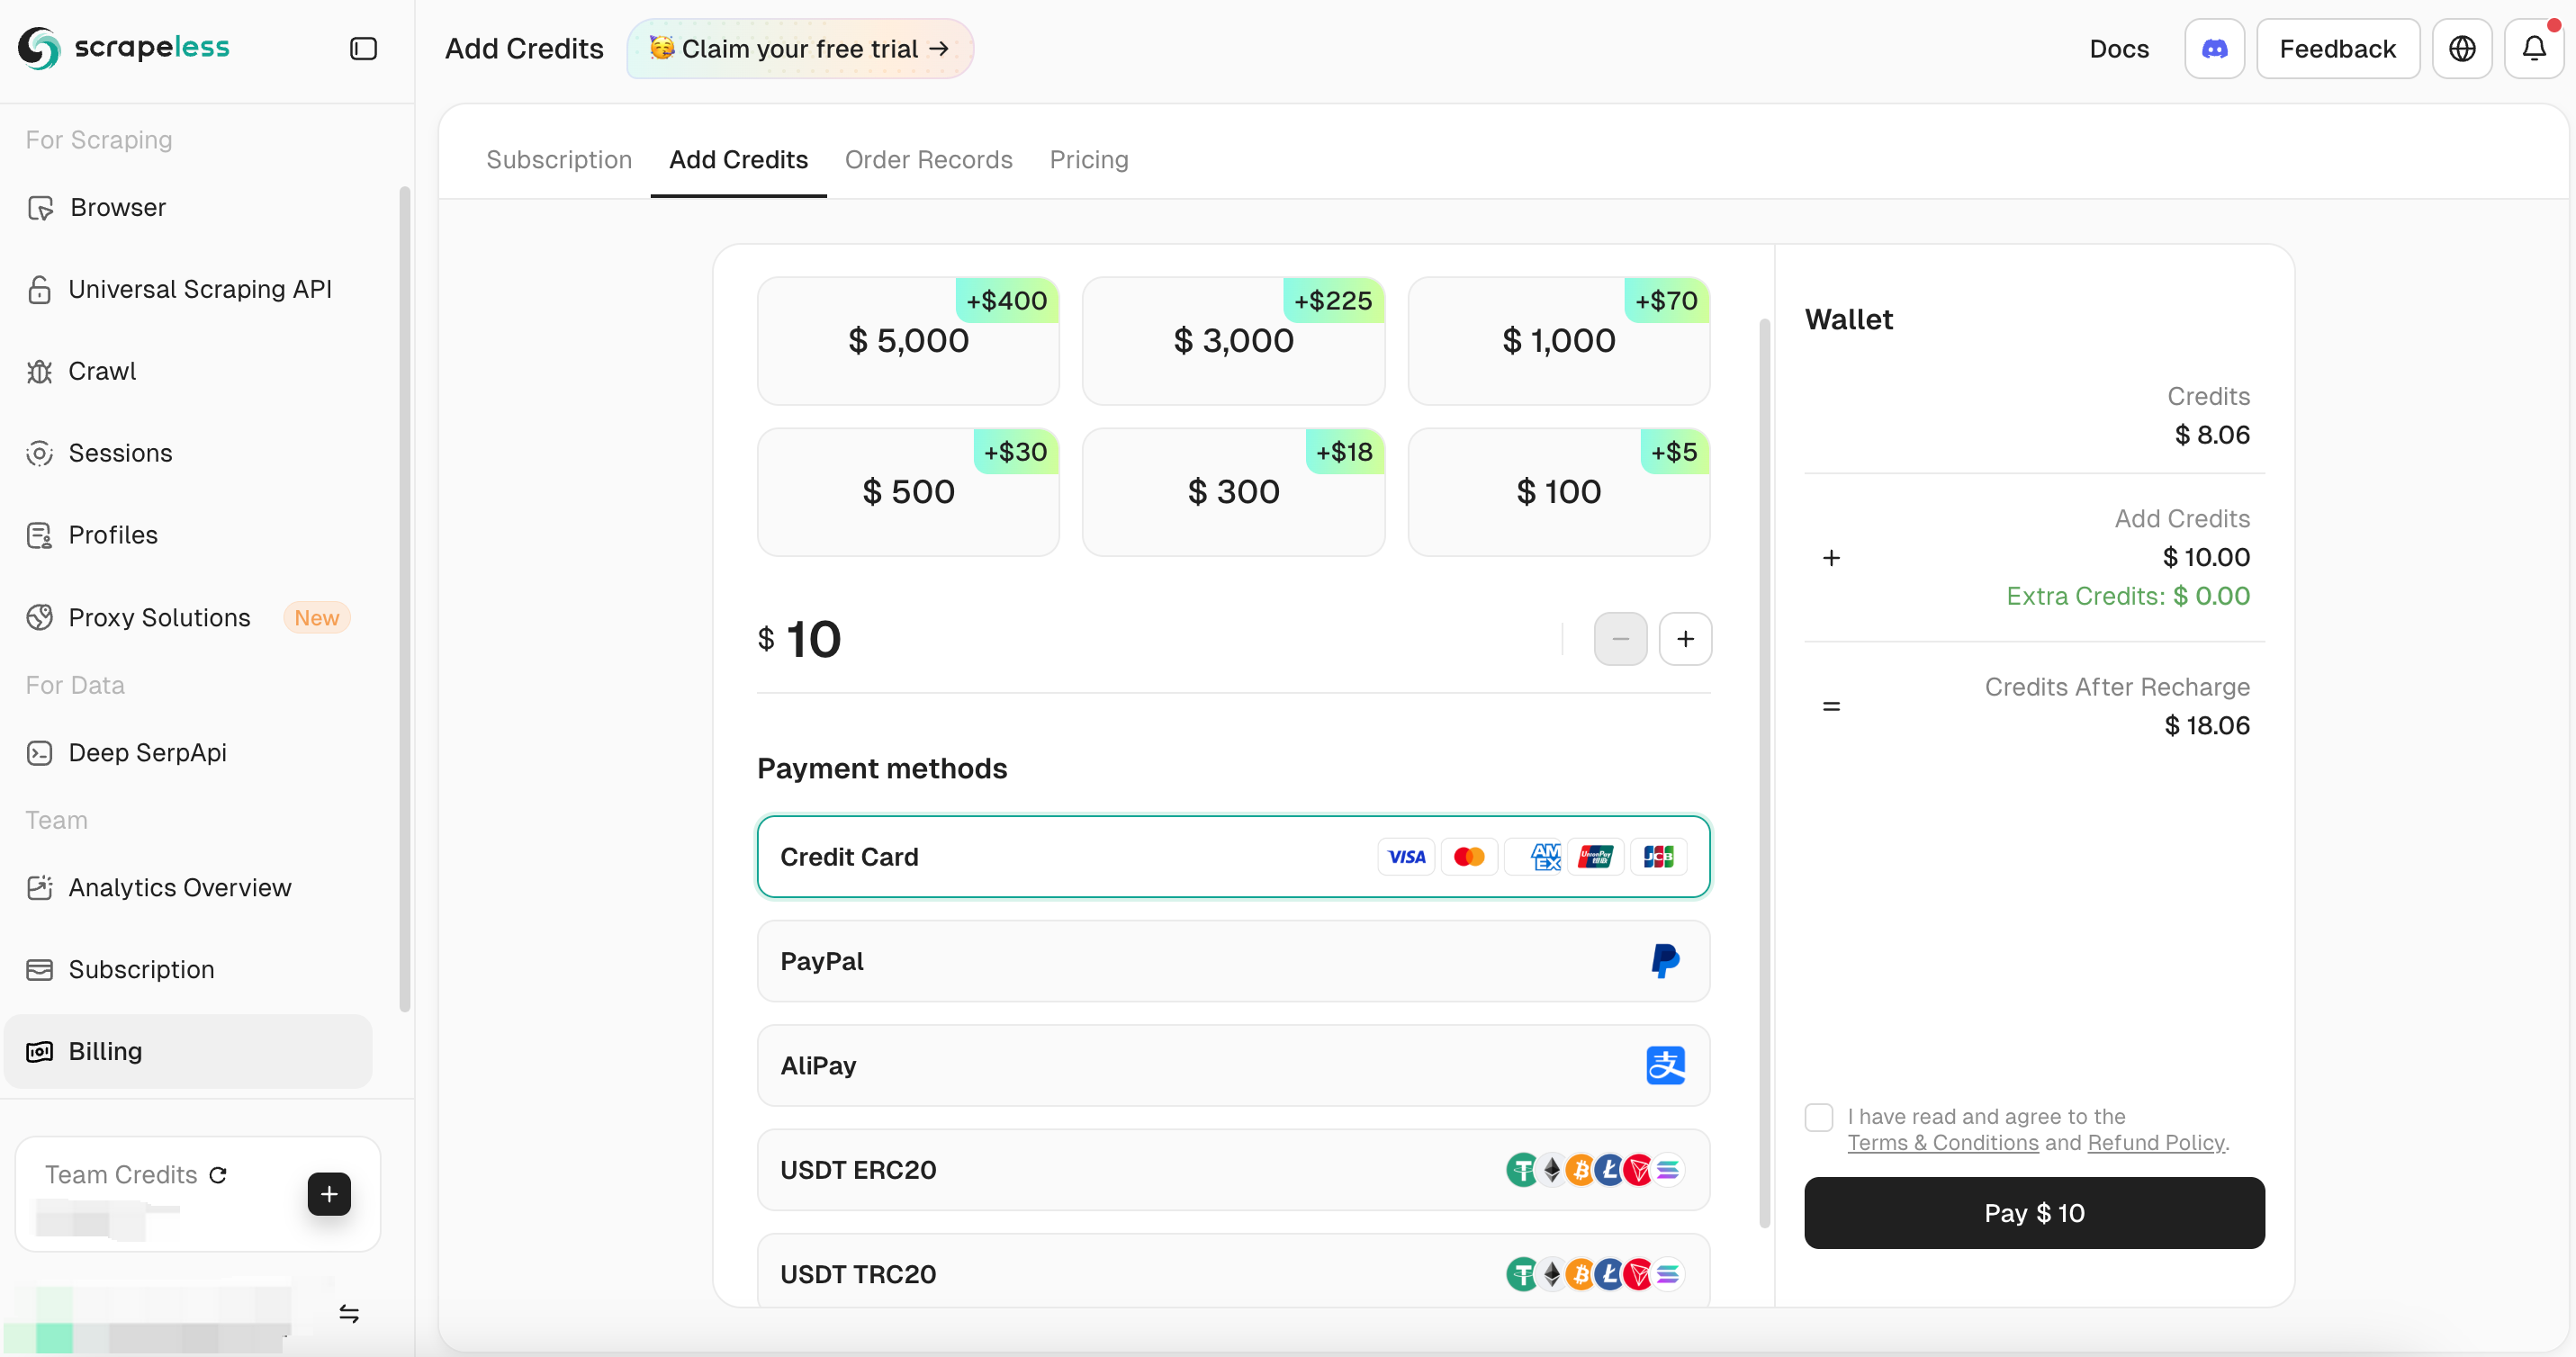
Top Up Wallet
Create a Channel
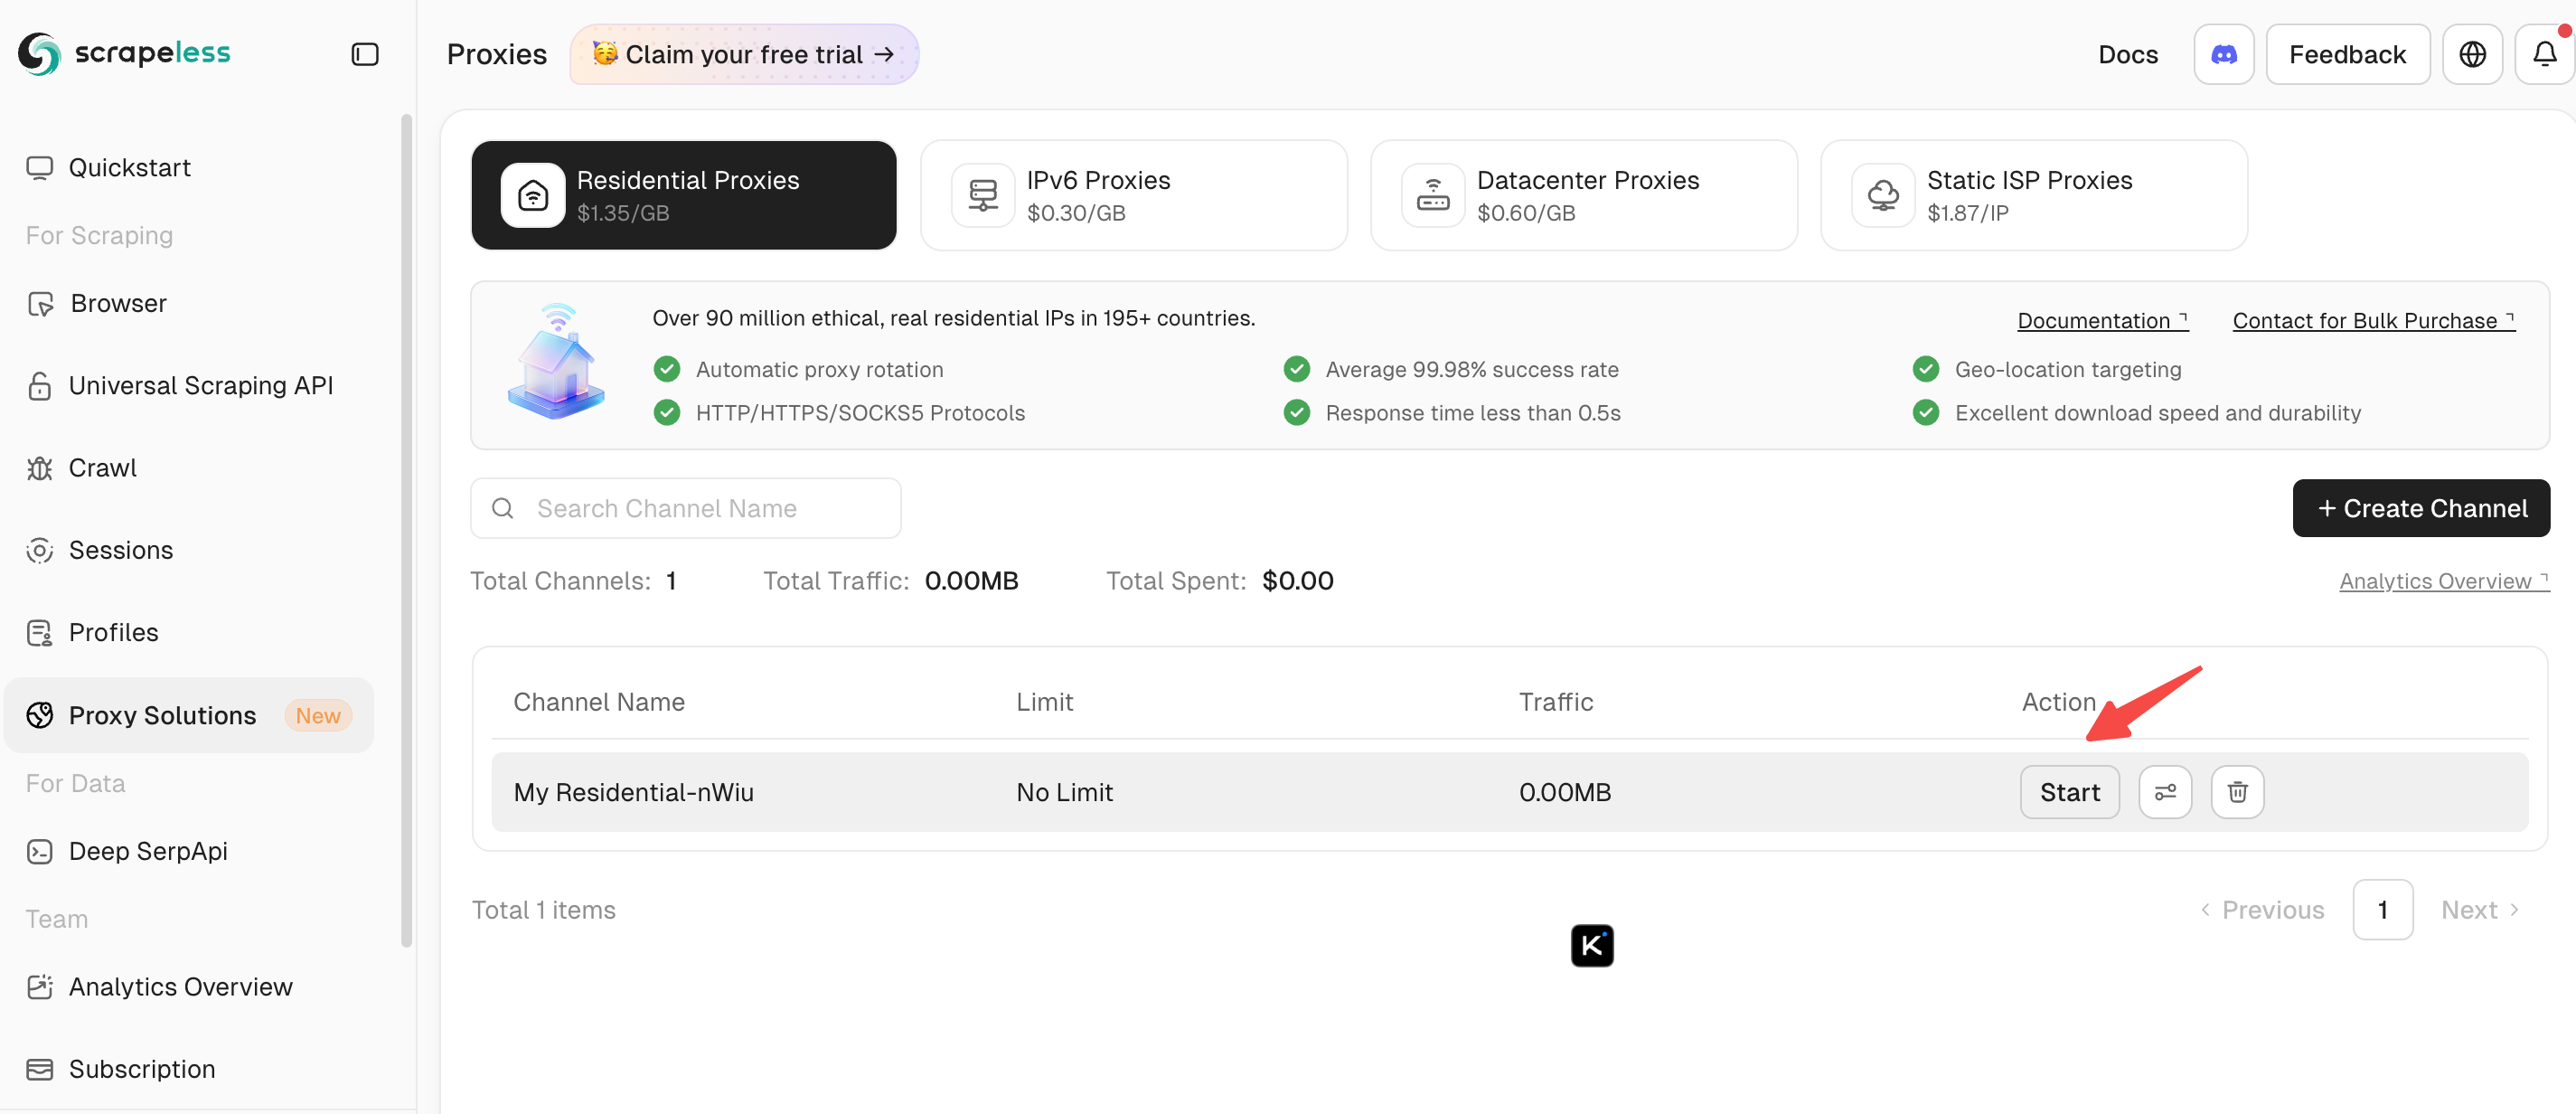
- In the left-hand panel, select Proxy Solutions, then choose Residential Proxy.
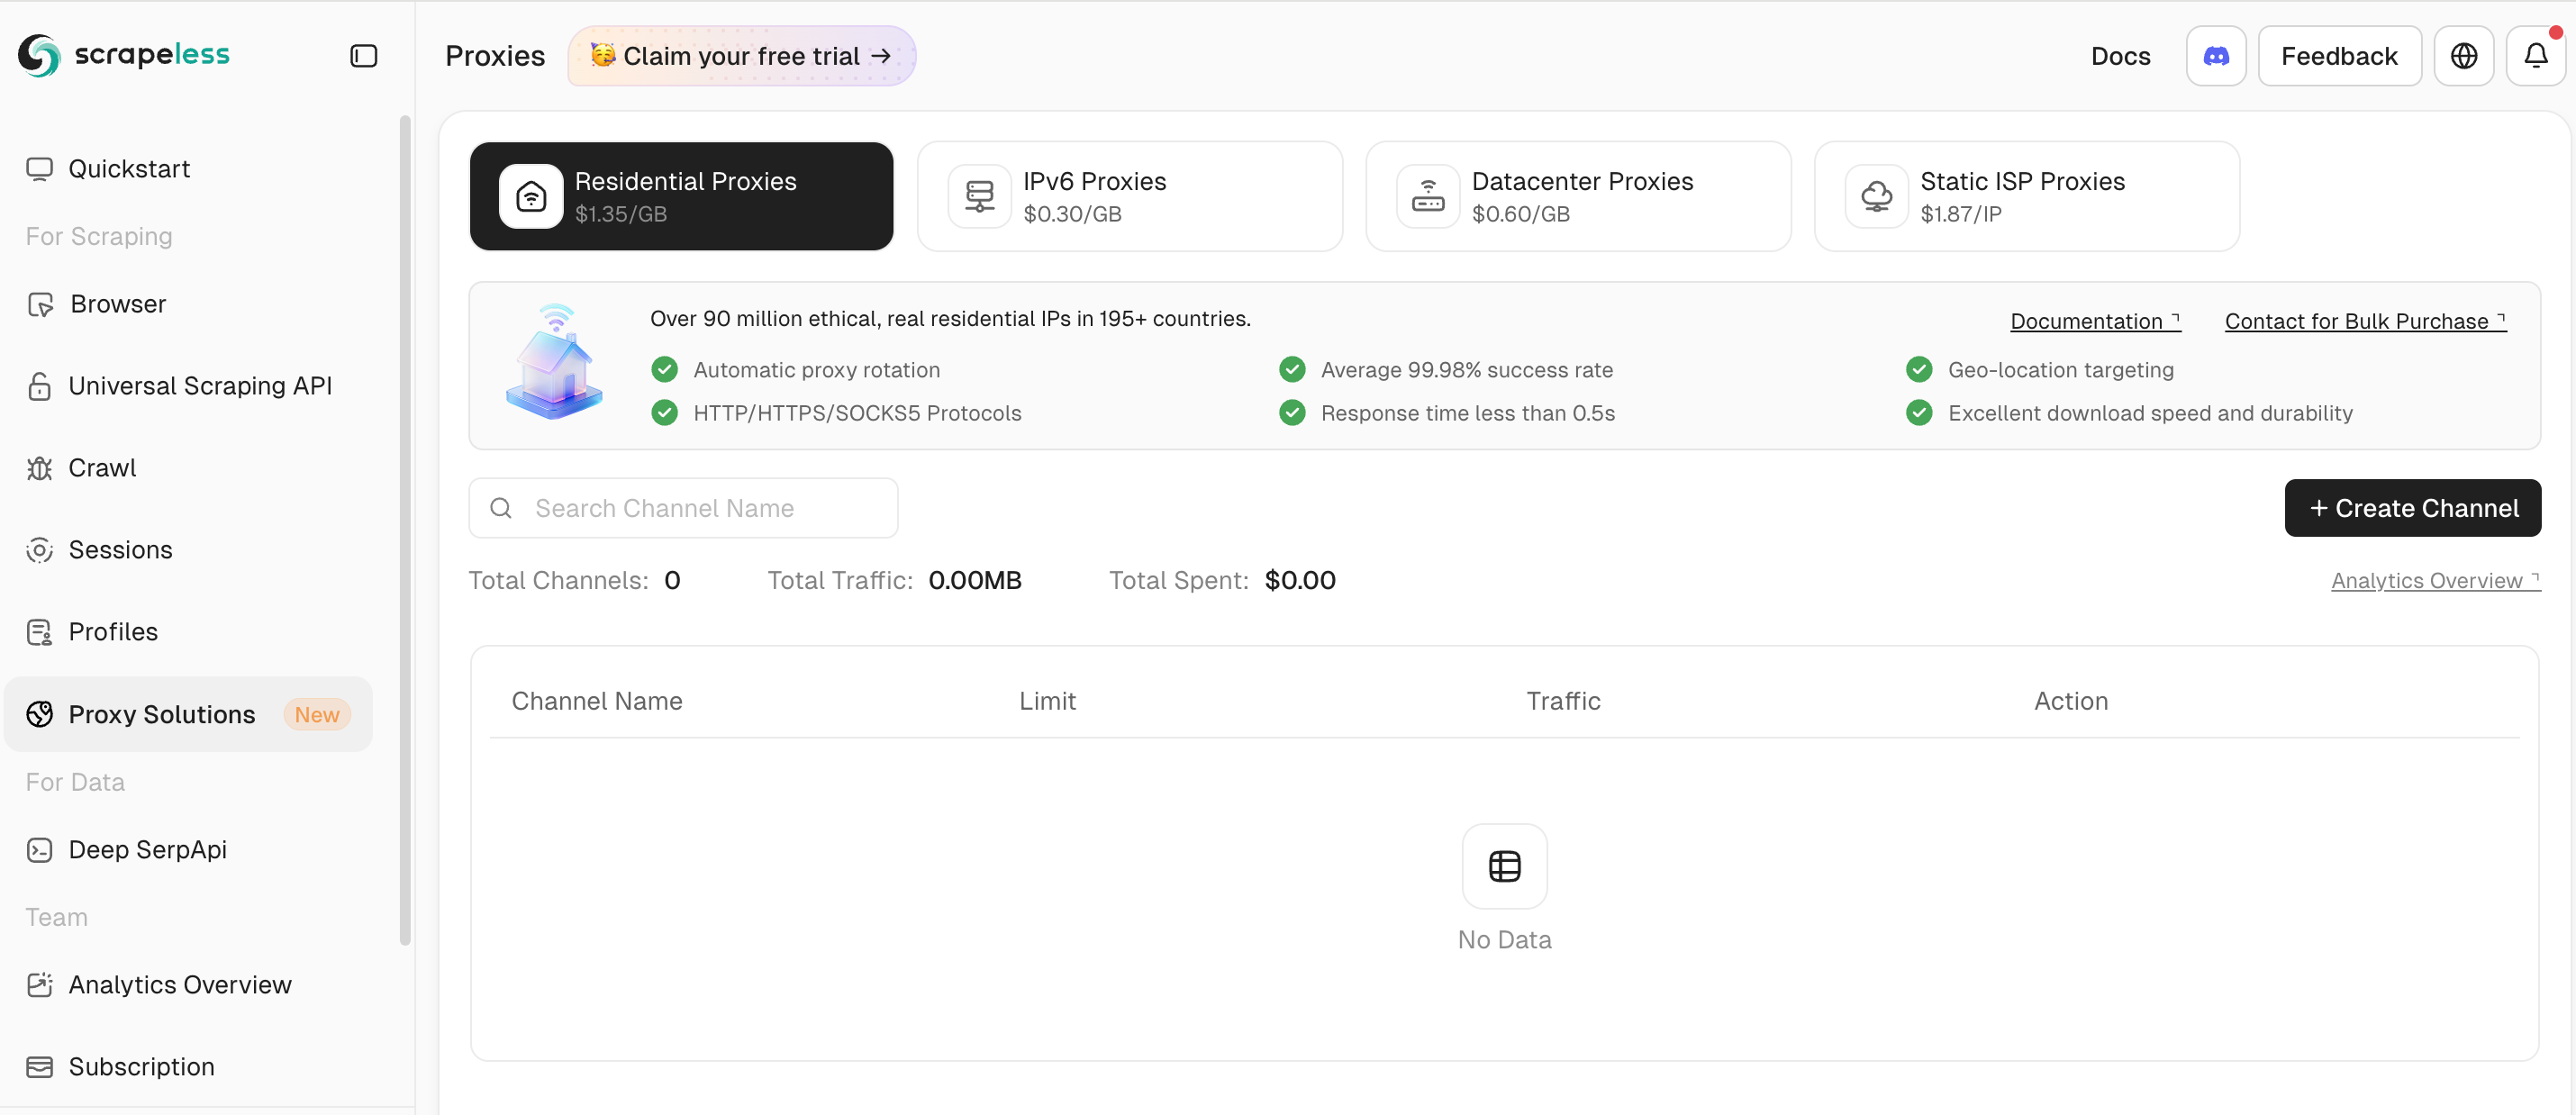
- Click the Create Channel button to open the proxy creation page.
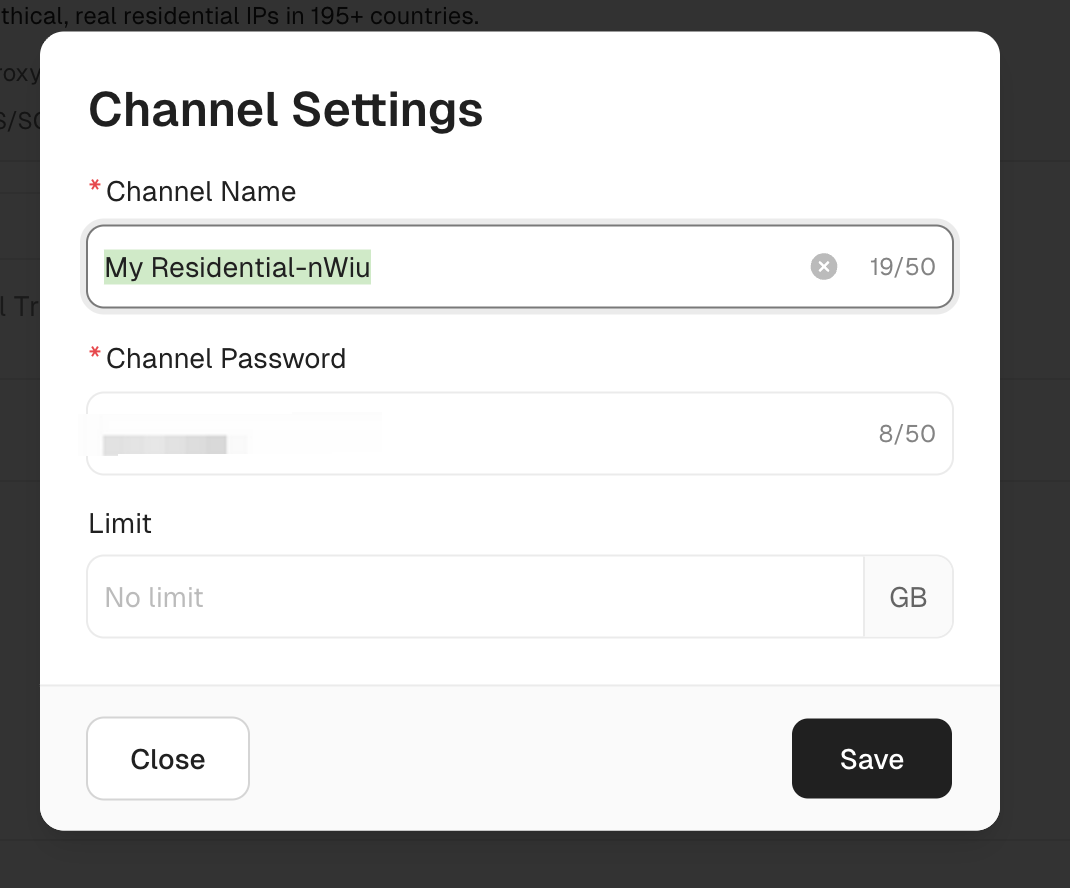
- Set your password and limit, then click Save to complete the setup.
Use the Proxy
- In the Residential Proxy channel list, select a proxy channel and click Start.
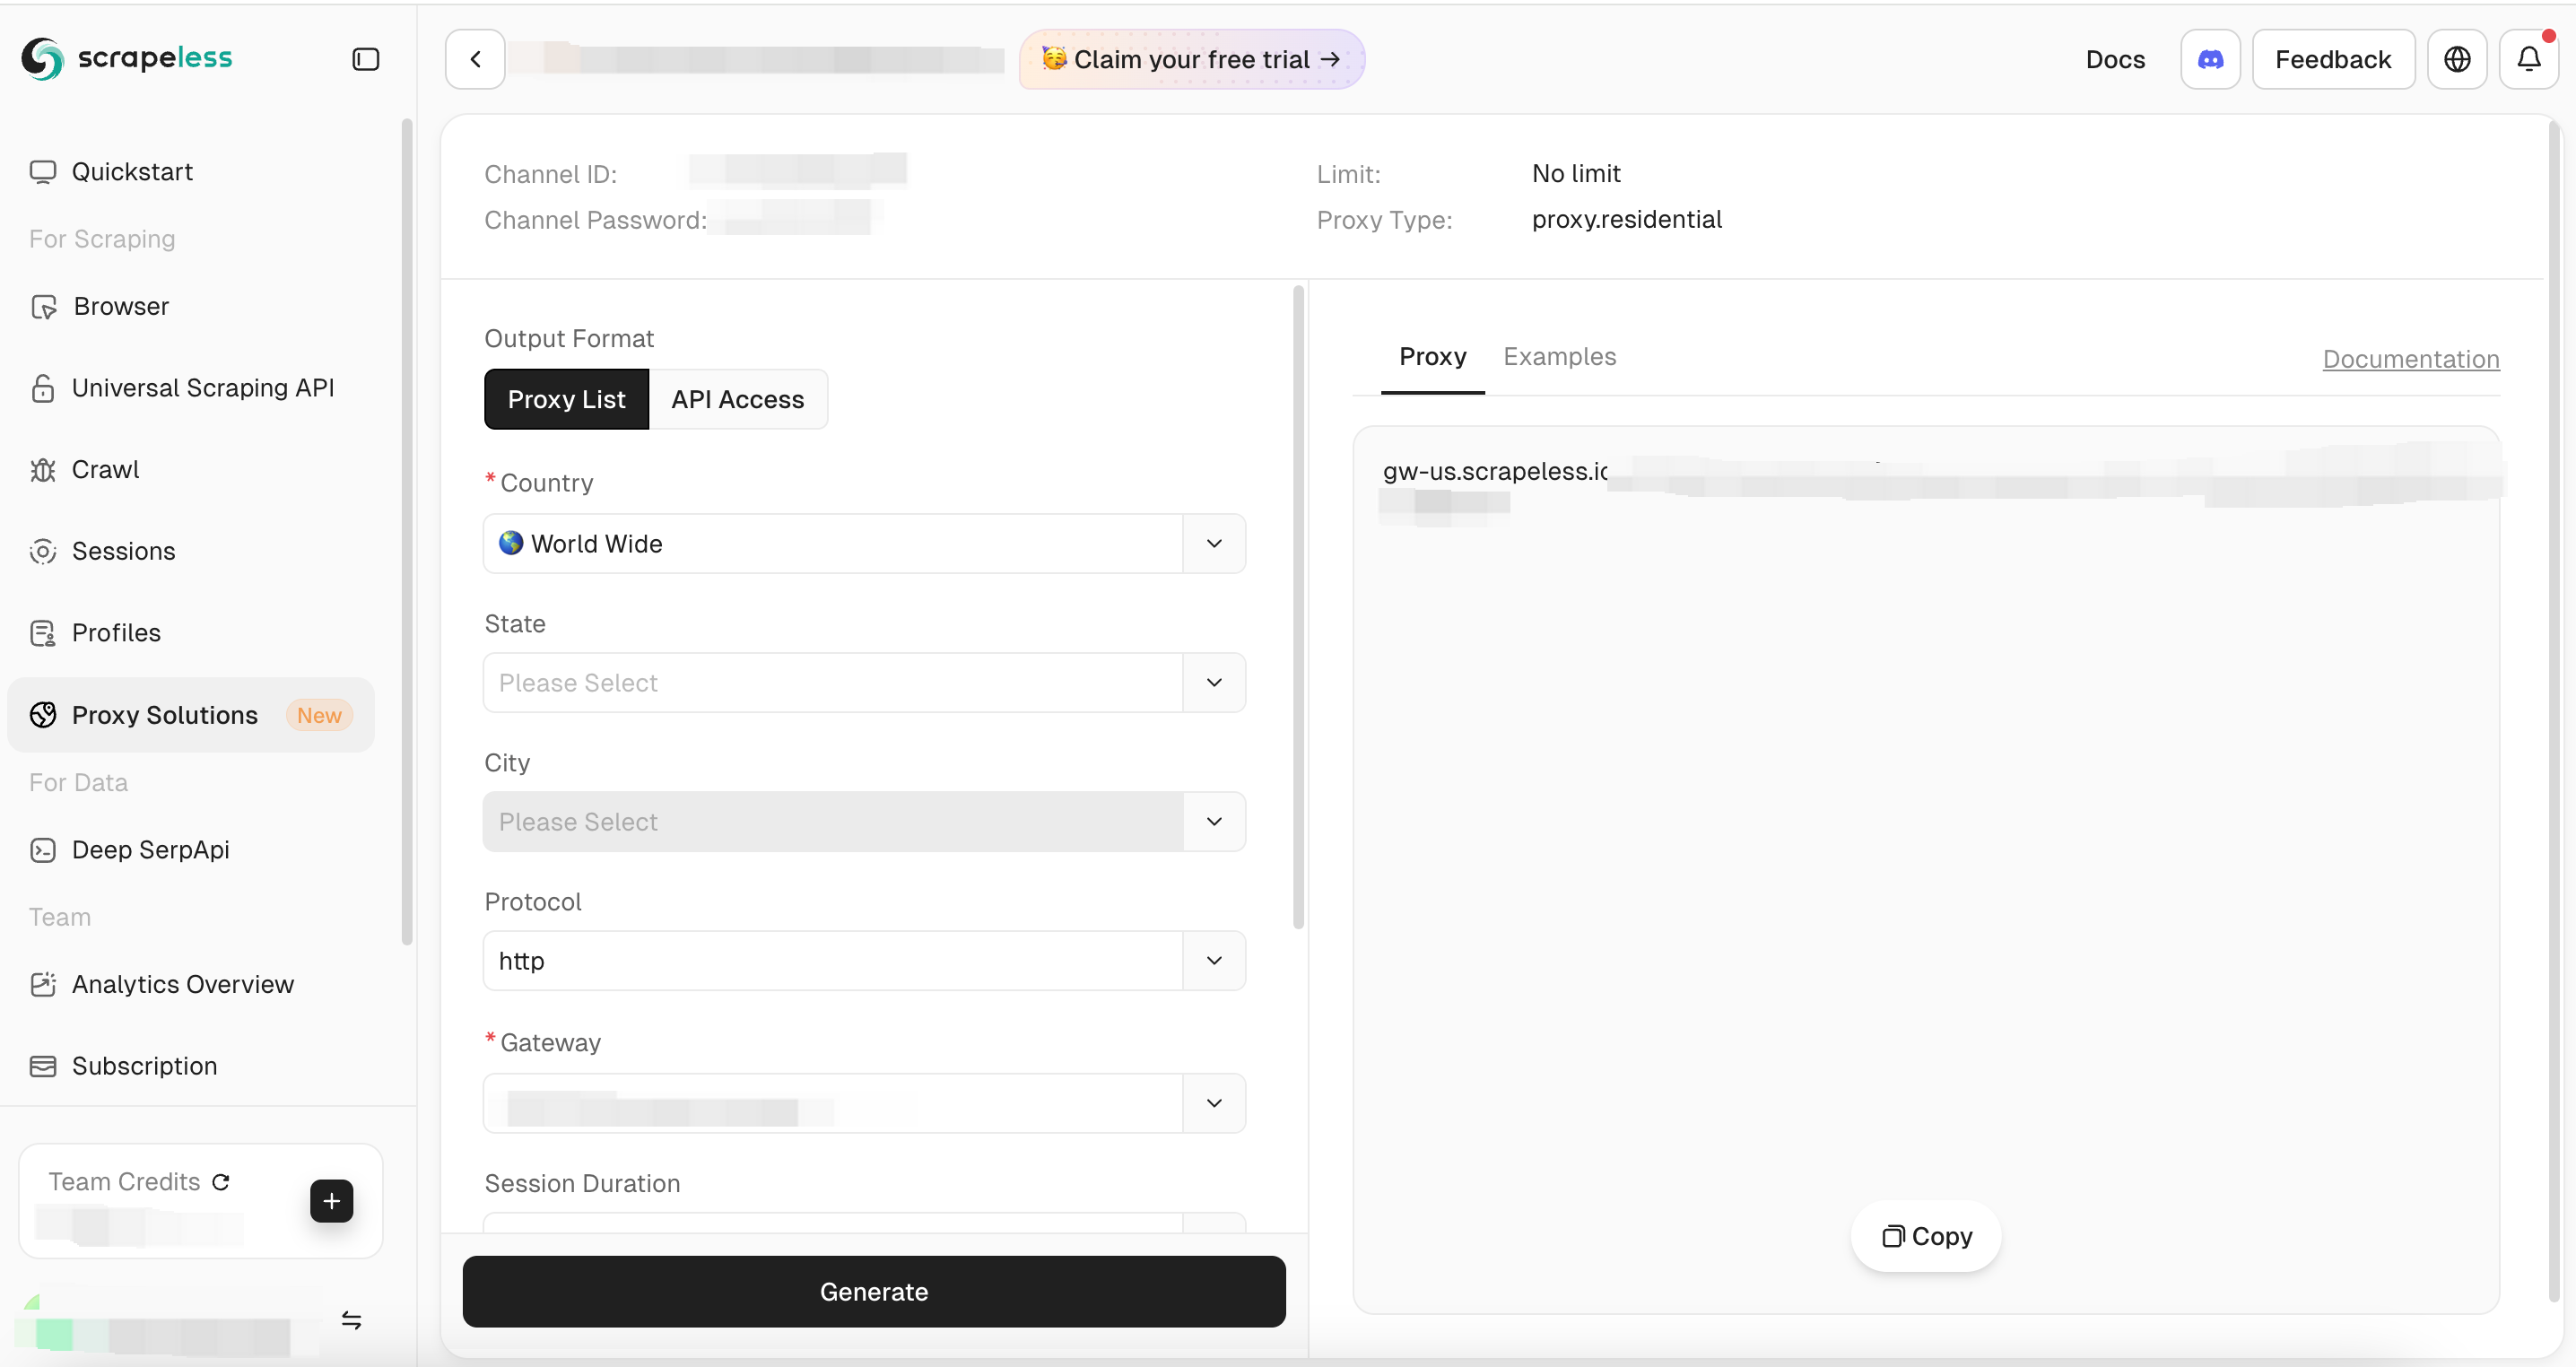
- Click the Generate button to create a proxy or view an example.
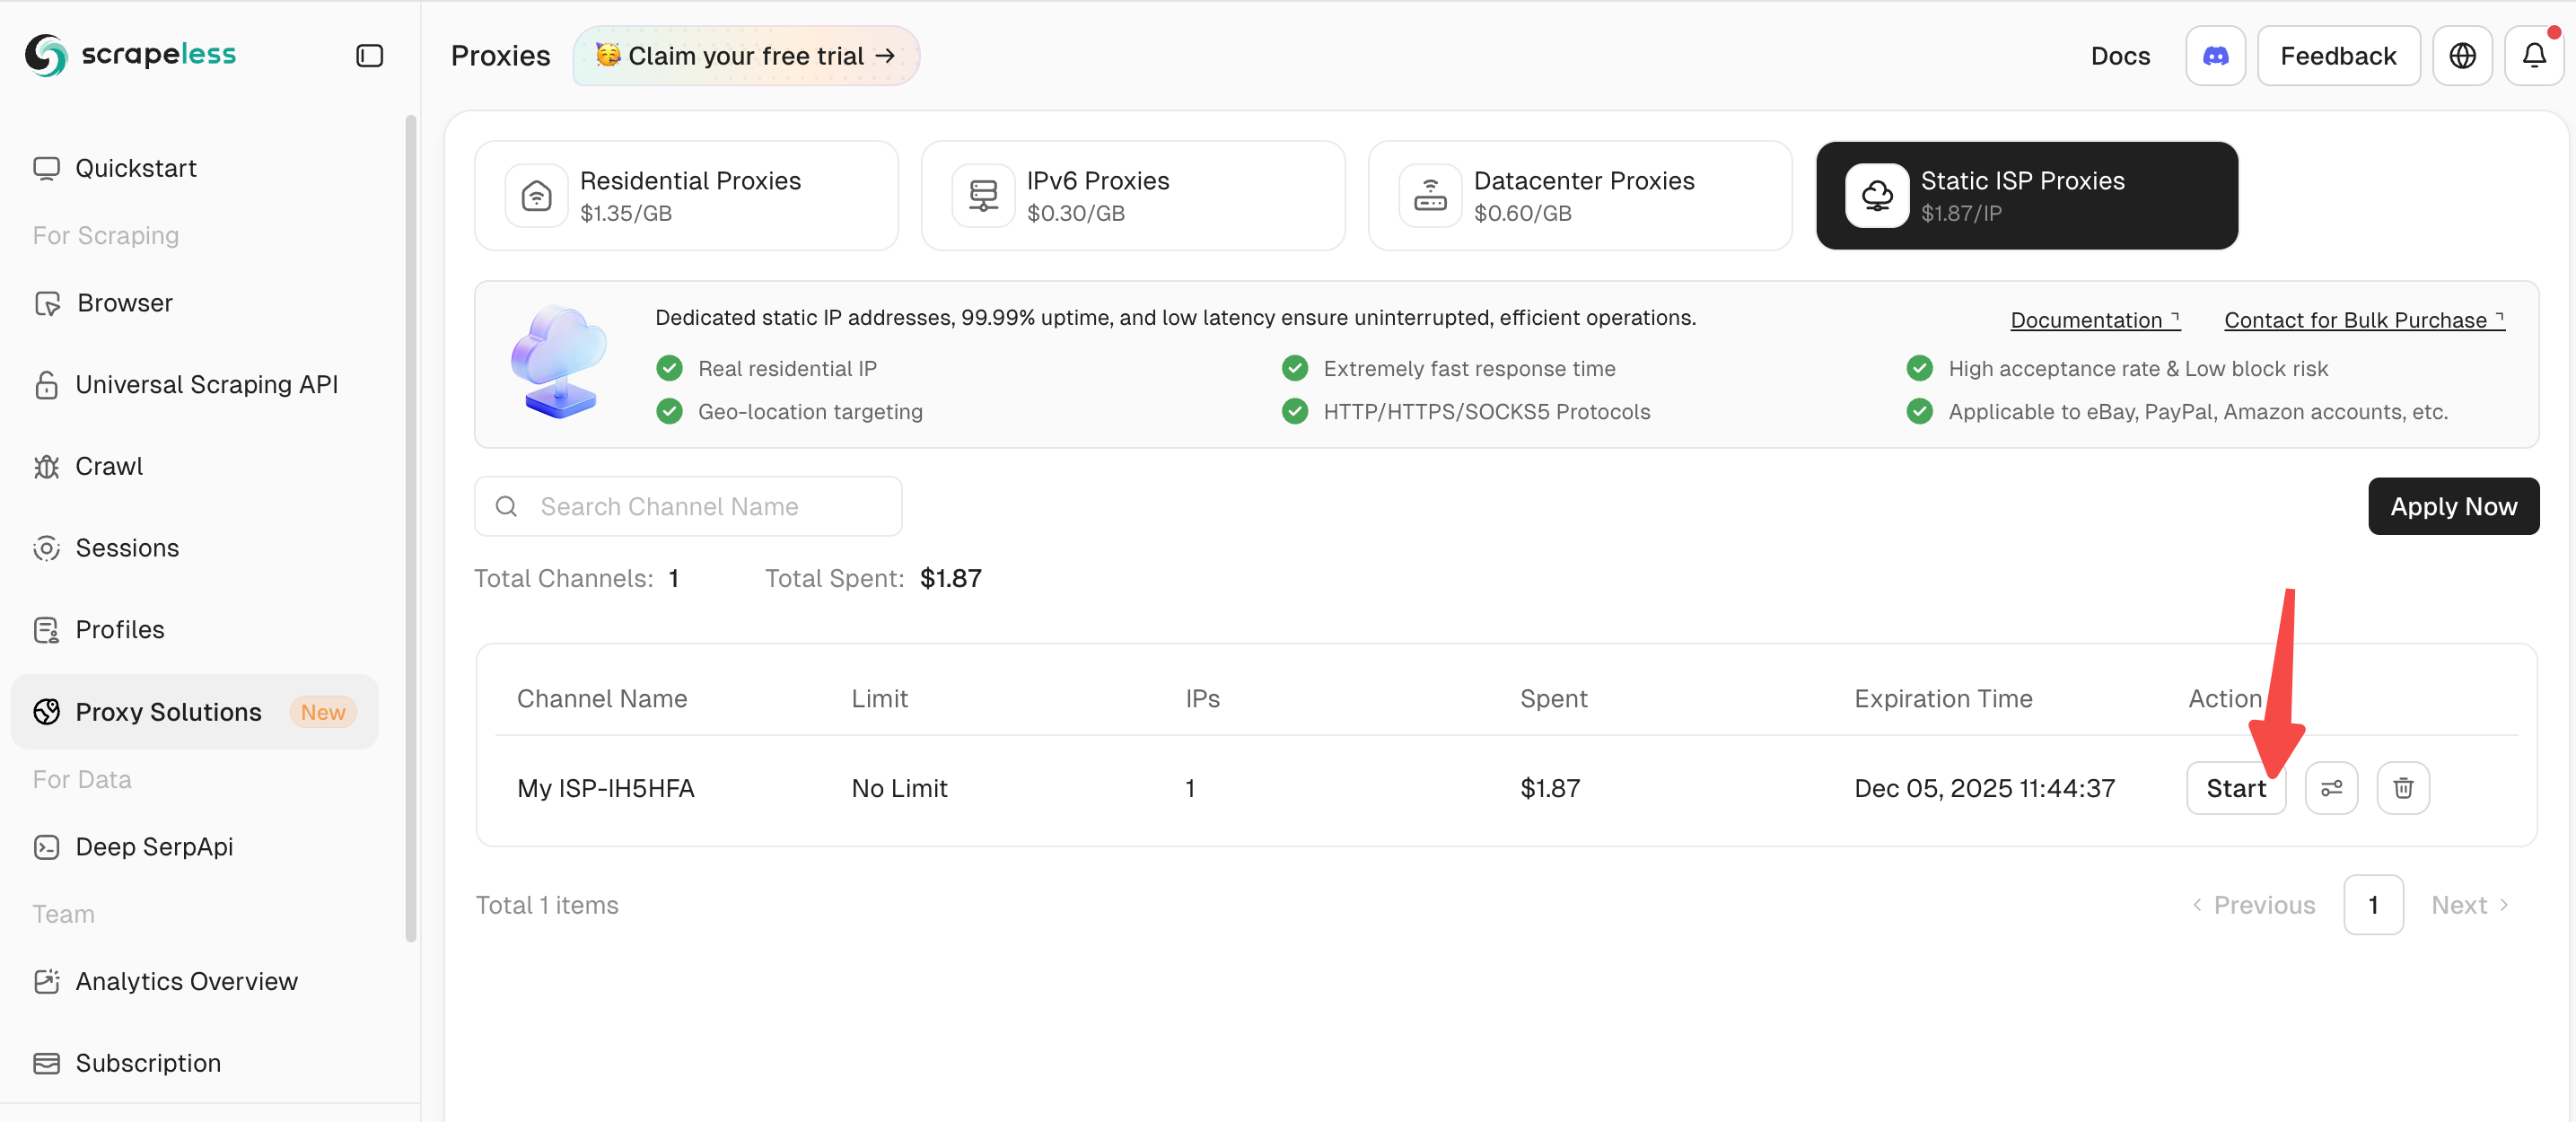
Static ISP Proxies
Purchase Proxies
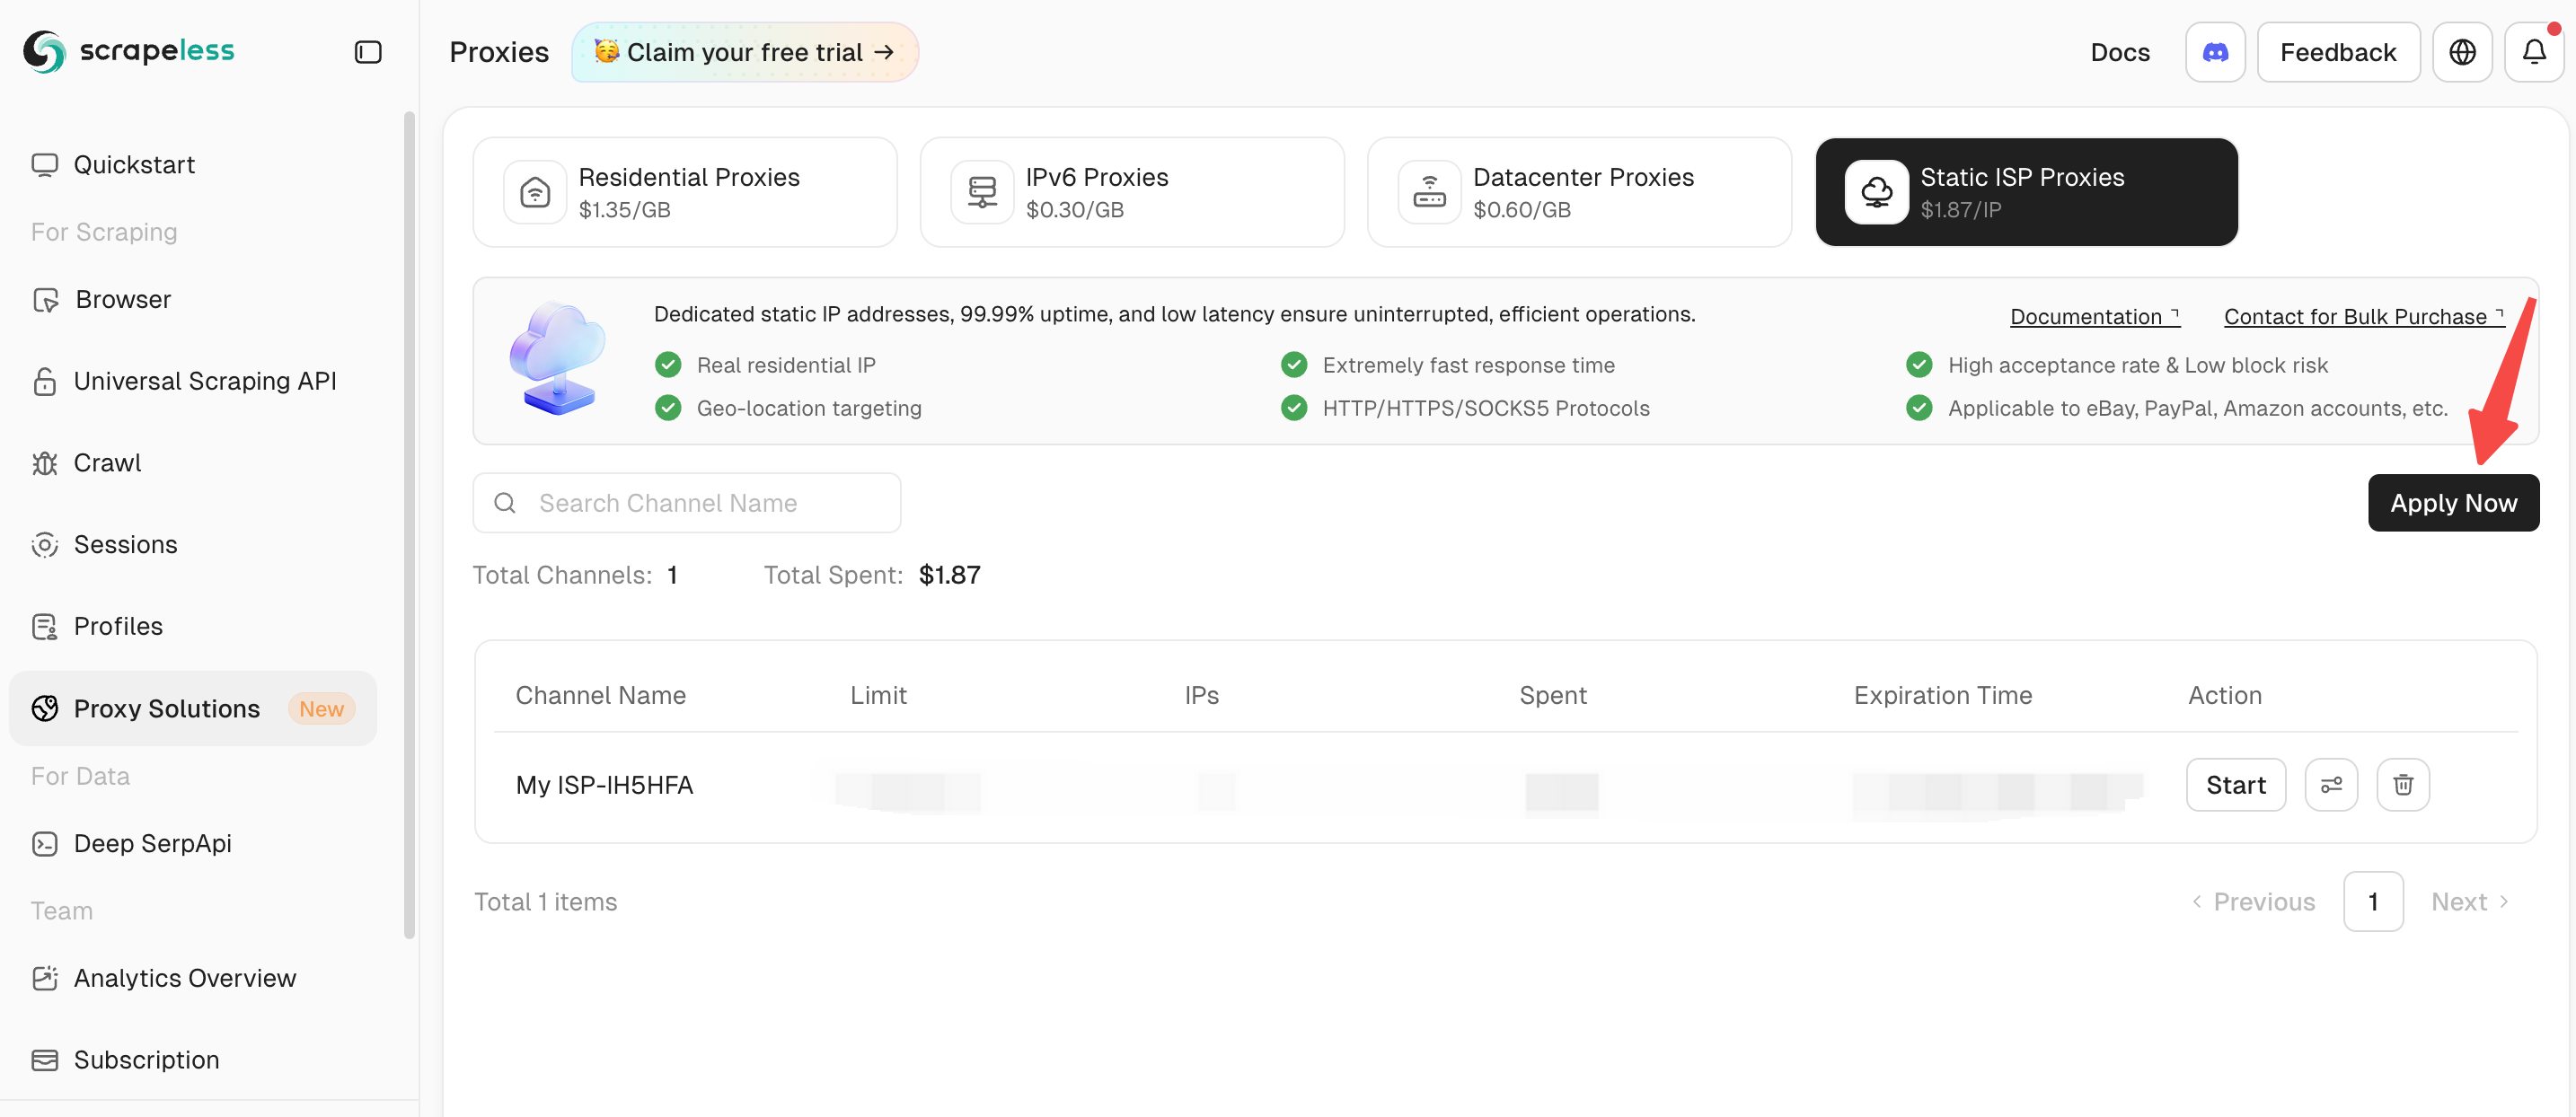
- Go to “Proxy Solutions”, select “Static ISP Proxy”, and then click “Apply Now” to enter the purchase page.
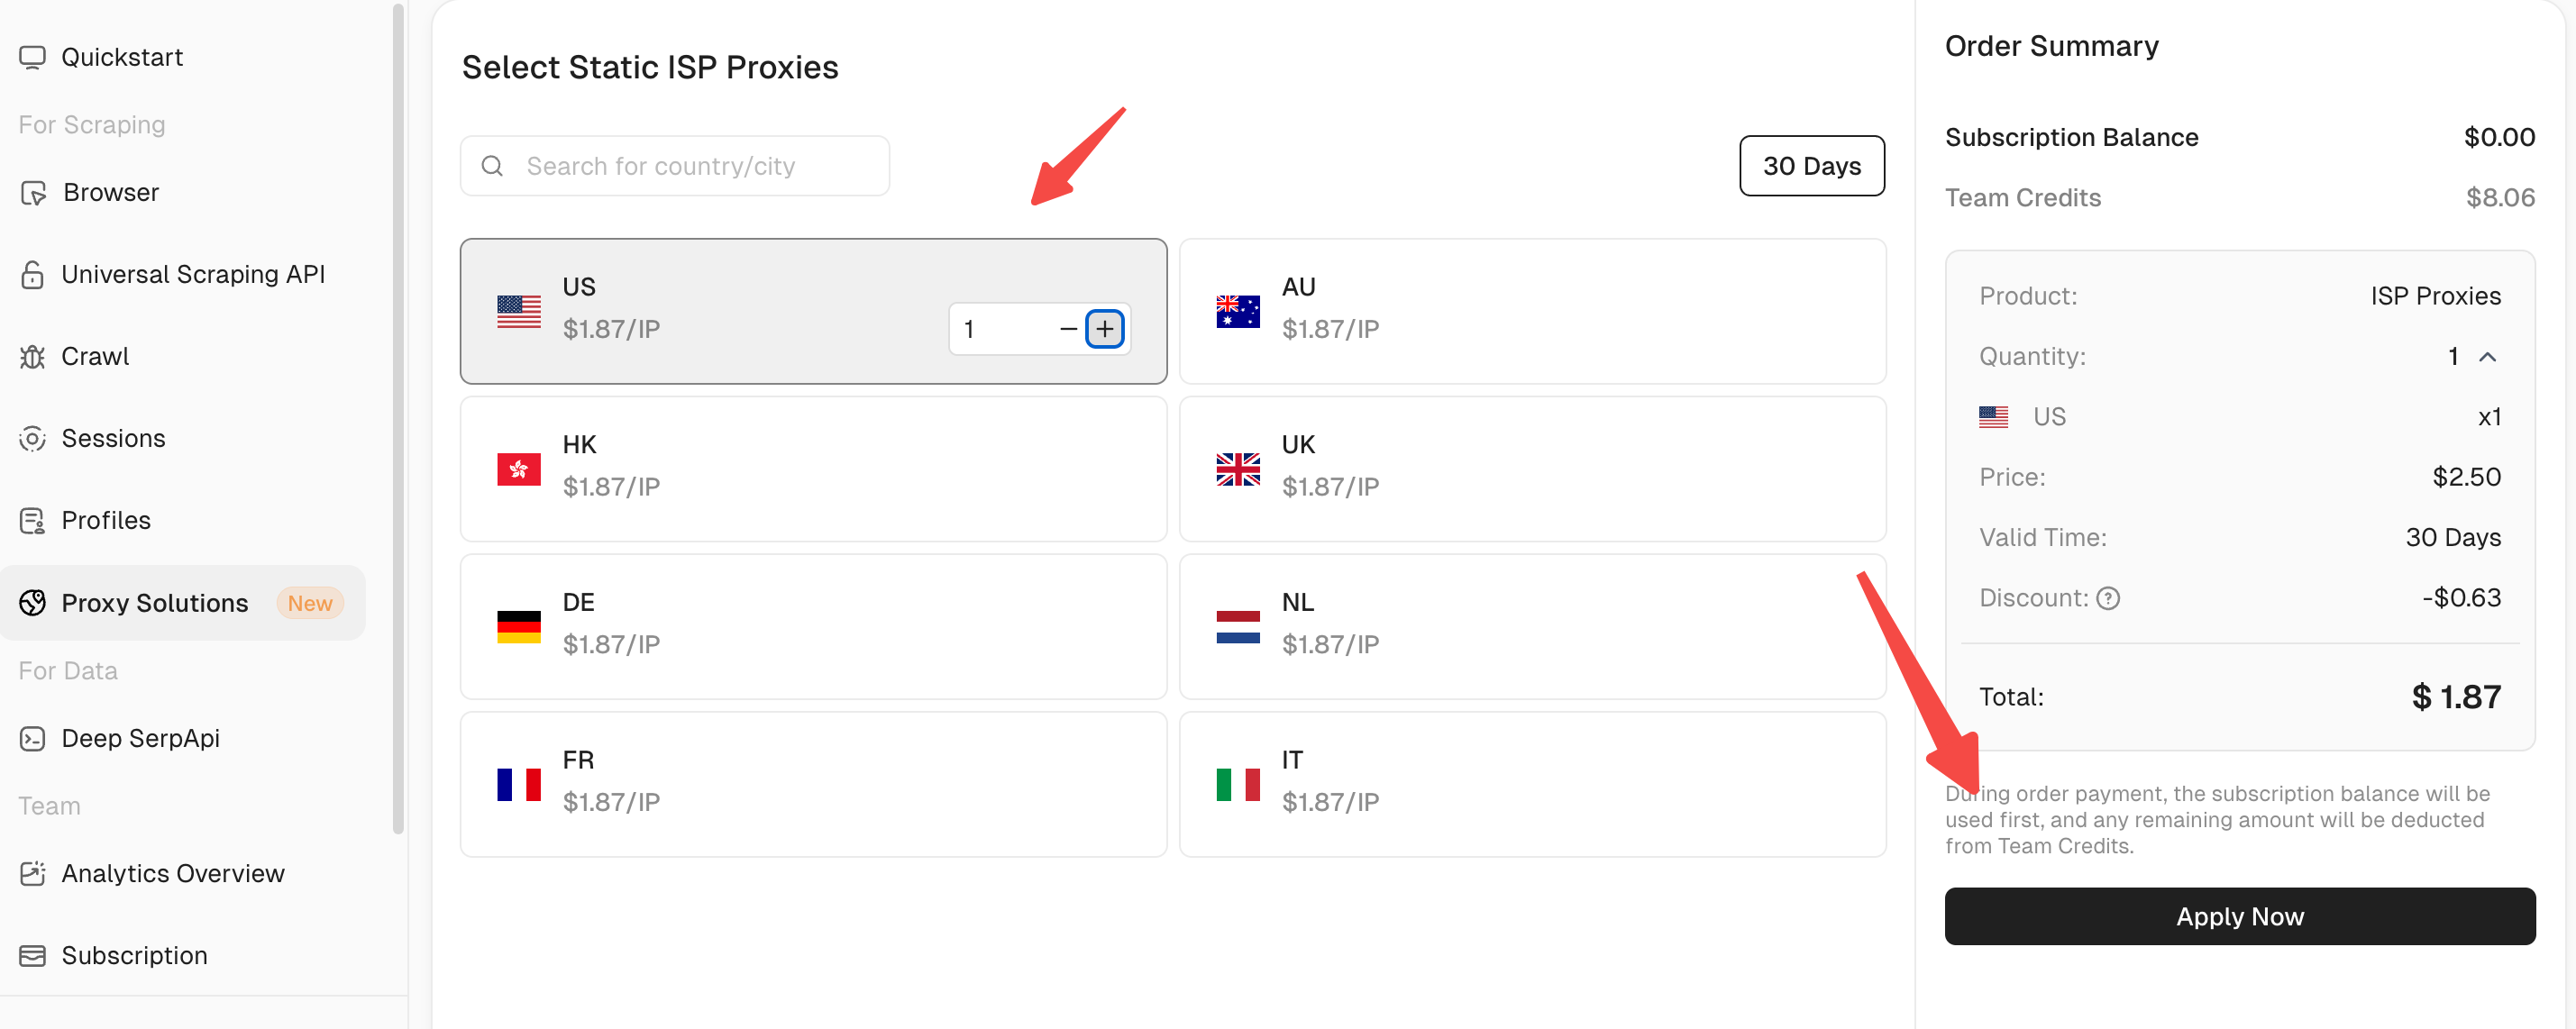
- Choose the quantity you need and complete the payment.
Create and Use Proxies
- In the Static ISP Proxy channel list, select a proxy channel and click Start.