Cloudflare bypass in web scraping
Scraping Browser and Cloudflare
This technical document explains how to use the Scrapeless Scraping Browser and Scrapeless Web Unlocker tools to handle various security challenges set up by Cloudflare. Key features include bypassing Cloudflare JS Challenge, Cloudflare Turnstile, and executing JavaScript rendering to access content protected by Cloudflare. This document will provide relevant background knowledge, feature introductions, operational steps, and code example explanations.
Understanding Cloudflare Challenges and Security Layers
Cloudflare, a popular web security and performance service, primarily protects websites from malicious or unexpected traffic, such as bots and scanners. To this end, Cloudflare implements various detection and defense mechanisms, including but not limited to:
1. JS Challenge (JavaScript Challenge): Requires the visitor’s browser to execute specific JavaScript code to verify it’s a legitimate browser environment with standard functionality.
2. Turnstile CAPTCHA Alternative: A less intrusive verification mechanism to distinguish between human users and bots.
3. Browser Fingerprinting: Collects and analyzes technical characteristics of the browser and device (e.g., User-Agent, screen resolution, installed fonts, plugins) to identify and track visitors.
4. Rate Limiting: Monitors and limits the number of requests from a single source (e.g., IP address) within a specific time to prevent brute-forcing or resource abuse.
These security layers prevent basic HTTP request libraries, simple scripts, or improperly configured headless browsers from accessing Cloudflare-protected websites, resulting in verification failures and access denial.
Differences Between Cloudflare JS Challenge and Other Challenges
The Cloudflare JS Challenge’s uniqueness lies in its verification method. It doesn’t just require users to complete a simple interactive task (e.g., image recognition); it demands that the client environment (browser) successfully parse and execute dynamically generated, often obfuscated, JavaScript code from Cloudflare. This code performs environment checks, computationally intensive tasks, or other logic to verify the client’s complex behavior capabilities, mimicking a real browser.
Successfully passing the JS Challenge involves generating a valid clearance token (usually in the form of a cf_clearance cookie). This token proves the client passed the JavaScript execution capability verification. Many automation tools lack a complete JavaScript execution engine and realistic browser environment simulation, thus failing such challenges.
Bypassing Cloudflare JS Challenge Using Scrapeless Scraping Browser
Scrapeless Scraping Browser is designed to handle complex website protection measures, including the Cloudflare JS Challenge.
Steps and Code Example
Environment Setup
Create a Project Folder
Create a new folder for the project, for example: scrapeless-bypass.
Navigate to the folder in your terminal:
cd path/to/scrapeless-bypassInitialize Node.js Project
Run the following command to create a package.json file:
npm init -yInstall Required Dependencies
Install Puppeteer-core, which allows remote connection to browser instances:
npm install puppeteer-coreIf Puppeteer is not already installed on your system, install the full version:
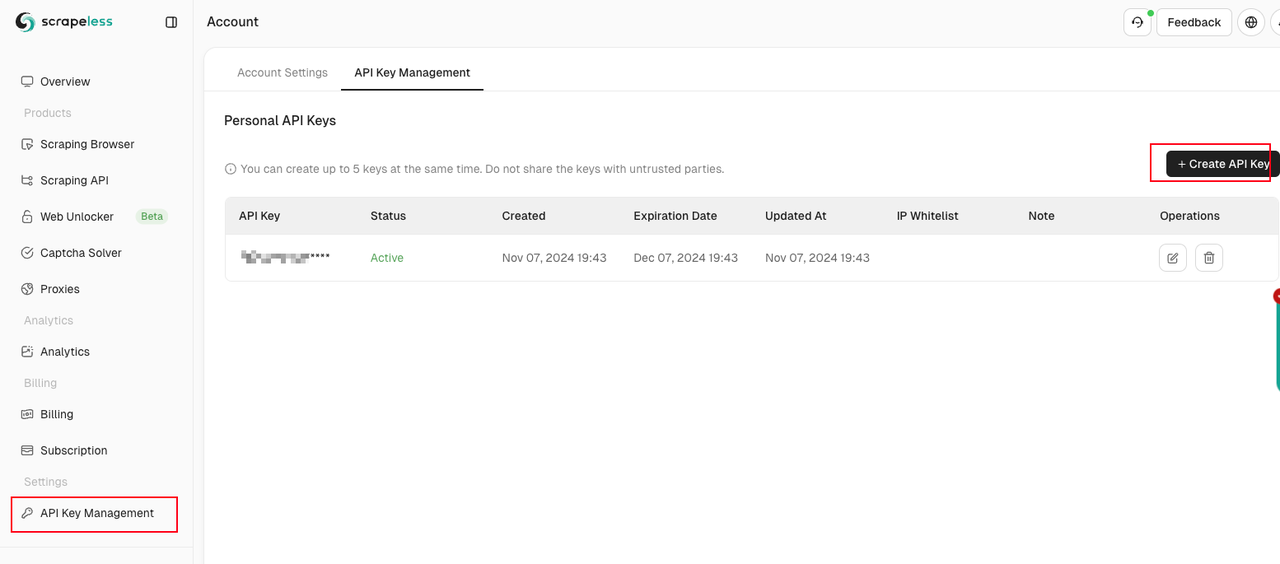
npm install puppeteer puppeteer-coreObtain and Configure Your Scrapeless API Key.
Connect and Ensure CAPTCHA is Successfully Solved
Scrapeless automatically detects and solves CAPTCHAs when connecting to the browser to access the target website. However, we need to ensure the CAPTCHA is successfully solved. Scrapeless Scraping Browser extends the standard CDP (Chrome DevTools Protocol) with a powerful set of custom capabilities. The CAPTCHA solver’s status can be directly observed by checking the results returned from the CDP API:
Captcha.detected: CAPTCHA detectedCaptcha.solveFinished: CAPTCHA solved successfullyCaptcha.solveFailed: CAPTCHA solving failed
import puppeteer from "puppeteer-core";
import EventEmitter from 'events';
import { Scrapeless } from '@scrapeless-ai/sdk';

const emitter = new EventEmitter();

const client = new Scrapeless({ apiKey: 'API Key' });

const { browserWSEndpoint } = client.browser.create({
    sessionName: 'sdk_test',
    sessionTTL: 180,
    proxyCountry: 'ANY',
    sessionRecording: true,
    fingerprint,
});

export async function example(url) {
  const browser = await puppeteer.connect({
    browserWSEndpoint,
    defaultViewport: null
  });
  console.log("Verbonden met Scrapeless browser");
  try {
    const page = await browser.newPage();
    // Listen for captcha events
    console.debug("addCaptchaListener: Start listening for captcha events");
    await addCaptchaListener(page);
    console.log("Navigated to URL:", url);
    await page.goto(url, { waitUntil: "domcontentloaded", timeout: 30000 });
    console.log("onCaptchaFinished: Waiting for captcha solving to finish...");
    await onCaptchaFinished()
    // Screenshot for debugging
    console.debug("Taking screenshot of the final page...");
    await page.screenshot({ path: 'screenshot.png', fullPage: true });
  } catch (error) {
    console.error(error);
  } finally {
    await browser.close();
    console.log("Browser closed");
  }
}

async function addCaptchaListener(page) {
  const client = await page.createCDPSession();
  client.on("Captcha.detected", (msg) => {
    console.debug("Captcha.detected: ", msg);
  });
  client.on("Captcha.solveFinished", async (msg) => {
    console.debug("Captcha.solveFinished: ", msg);
    emitter.emit("Captcha.solveFinished", msg);
    client.removeAllListeners()
  });
}

async function onCaptchaFinished(timeout = 60_000) {
  return Promise.race([
    new Promise((resolve) => {
      emitter.on("Captcha.solveFinished", (msg) => {
        resolve(msg);
      });
    }),
    new Promise((_, reject) => setTimeout(() => reject('Timeout'), timeout))
  ])
}This example workflow accesses the target website and confirms CAPTCHA is successfully solved by listening for the Captcha.solveFinished CDP event. Finally, it captures a screenshot of the page for verification.
This example defines two main methods:
addCaptchaListener: for listening to CAPTCHA events within the browser sessiononCaptchaFinished: for waiting until the CAPTCHA has been solved
The above example code can be used to listen for CDP events for three common CAPTCHA types discussed in this article: reCAPTCHA v2, Cloudflare Turnstile, and Cloudflare 5s Challenge.
Note that the Cloudflare 5s Challenge is somewhat special. Sometimes it doesn’t trigger an actual challenge, and relying solely on CDP event detection for success might lead to timeouts. Therefore, waiting for a specific element to appear on the page after the challenge is a more stable solution.
Connecting to Scrapeless Browserless WebSocket
Scrapeless provides a WebSocket connection, allowing Puppeteer to interact directly with the headless browser, bypassing Cloudflare challenges.
The complete WebSocket connection address:
wss://browser.scrapeless.com/api/v2/browser?token=APIKey&sessionTTL=180&proxyCountry=ANYCode Example: Bypassing Cloudflare Challenge
We only need the following code to connect to Scrapeless’s browserless service.
import puppeteer from 'puppeteer-core';

const API_KEY = 'your_api_key'
const host = 'wss://browser.scrapeless.com/api/v2';
const query = new URLSearchParams({
  token: API_KEY,
  sessionTTL: '180', // The life cycle of a browser session, in seconds
  proxyCountry: 'GB', // Agent country
  proxySessionId: 'test_session_id', // The proxy session id is used to keep the proxy ip unchanged. The session time is 3 minutes by default, based on the proxySessionDuration setting.
  proxySessionDuration: '5' // Agent session time, unit minutes
}).toString();

const connectionURL = `${host}/browser?${query}`;
const browser = await puppeteer.connect({
    browserWSEndpoint: connectionURL,
    defaultViewport: null,
});
console.log('Connected!')
Accessing Cloudflare-Protected Websites and Screenshot Verification
Next, we use scrapeless browserless to directly access the cloudflare-challenge test site and add a screenshot, allowing for visual verification. Before taking the screenshot, note that you need to use waitForSelector to wait for elements on the page, ensuring the Cloudflare challenge has been successfully bypassed.
const page = await browser.newPage();
await page.goto('https://www.scrapingcourse.com/cloudflare-challenge', {waitUntil: 'domcontentloaded'});
// By waiting for elements in the site page, ensuring that the Cloudflare challenge has been successfully bypassed.
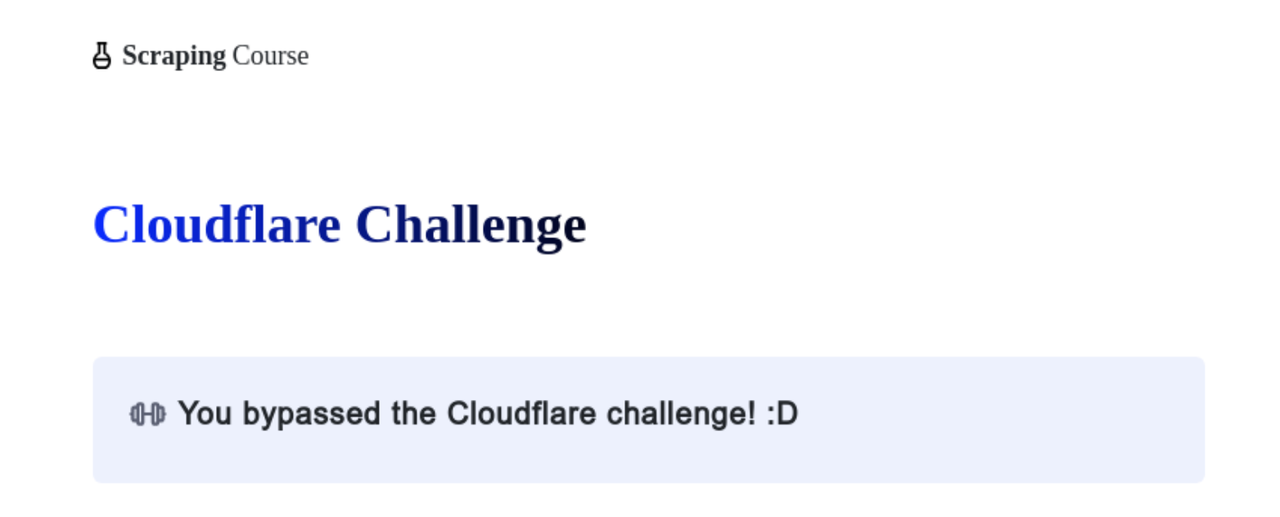
await page.waitForSelector('main.page-content .challenge-info', {timeout: 30 * 1000})
await page.screenshot({path: 'challenge-bypass.png'});At this point, you’ve bypassed the Cloudflare challenge using Scrapeless Browserless.
Retrieving cf_clearance Cookie and Header
After passing the Cloudflare challenge, you can retrieve the request headers and cf_clearance cookie from the successful page.
const cookies = await browser.cookies()
const cfClearance = cookies.find(cookie => cookie.name === 'cf_clearance')?.value
Enable request interception to capture request headers and match page requests after the Cloudflare challenge.
await page.setRequestInterception(true);
page.on('request', request => {
  // Match page requests after cloudflare challenge
  if (request.url().includes('https://www.scrapingcourse.com/cloudflare-challenge') && request.headers()?.['origin']) {
    const accessRequestHeaders = request.headers();
    console.log('[access_request_headers] =>', accessRequestHeaders);
  }
  request.continue();
});
Bypassing Cloudflare Turnstile Using Scrapeless Scraping Browser
Scrapeless Scraping Browser also handles Cloudflare Turnstile challenges.
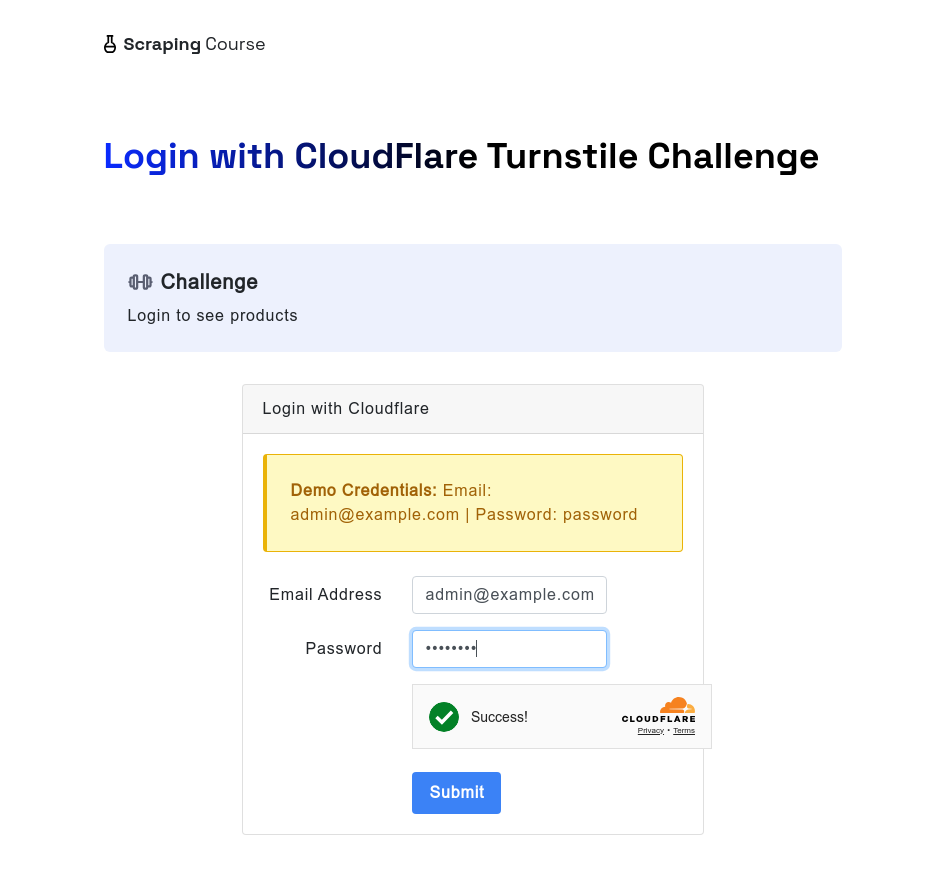
Similarly, when facing Cloudflare Turnstile, the browserless scraping browser can still handle it automatically. The following example accesses the cloudflare-turnstile test site. After entering the username and password, it uses the waitForFunction method to wait for data from window.turnstile.getResponse(), ensuring the challenge is successfully bypassed. Then, it takes a screenshot and clicks the login button to navigate to the next page.
Steps and Code Example:
const page = await browser.newPage();
await page.goto('https://www.scrapingcourse.com/login/cf-turnstile', { waitUntil: 'domcontentloaded' });
await page.locator('input[type="email"]').fill('admin@example.com')
await page.locator('input[type="password"]').fill('password')
// Wait for turnstile to unlock successfully
await page.waitForFunction(() => {
  return window.turnstile && window.turnstile.getResponse();
});
await page.screenshot({ path: 'challenge-bypass-success.png' });
await page.locator('button[type="submit"]').click()
await page.waitForNavigation()
await page.screenshot({ path: 'next-page.png' });
After running this script, you’ll see the unlocking effect via screenshots.
Using Scrapeless Web Unlocker for JavaScript Rendering
For websites protected by Cloudflare where core content relies on client-side JavaScript execution for complete loading and display, Scrapeless Web Unlocker provides a dedicated solution.
Scrapeless Universal API enables JavaScript rendering and dynamic interaction, making it an effective tool for bypassing Cloudflare.
JavaScript Rendering
JavaScript rendering supports handling dynamically loaded content and SPAs (Single-Page Applications). It supports a full browser environment, handling more complex page interactions and rendering requirements.
With input.jsRender.enabled=true, we’ll use the browser for the request
{
  "actor": "unlocker.webunlocker",
  "input": {
    "url": "https://www.google.com/",
    "jsRender": {
      "enabled": true
    }
  },
  "proxy": {
    "country": "US"
  }
}
JavaScript Instructions
Provides a broad set of JavaScript instructions, allowing dynamic interaction with web pages.
These instructions enable clicking elements, filling forms, submitting forms, or waiting for specific elements to appear, providing flexibility for tasks like clicking a “Read More” button or submitting a form.
{
  "actor": "unlocker.webunlocker",
  "input": {
    "url": "https://example.com",
    "jsRender": {
      "enabled": true,
      "instructions": [
        {
          "waitFor": [
            ".dynamic-content",
            30000
          ]
          // Wait for element
        },
        {
          "click": [
            "#load-more",
            1000
          ]
          // Click element
        },
        {
          "fill": [
            "#search-input",
            "search term"
          ]
          // Fill form
        },
        {
          "keyboard": [
            "press",
            "Enter"
          ]
          // Simulate key press
        },
        {
          "evaluate": "window.scrollTo(0, document.body.scrollHeight)"
          // Execute custom JS
        }
      ]
    }
  }
}
Challenge Bypass Example
The following example uses axios to send a request to Scrapeless’s Web Unlocker service. It enables input.jsRender.enabled and uses the waitFor instruction in the input.jsRender.instructions parameter to wait for an element on the page after bypassing the Cloudflare challenge:
import axios from 'axios'
async function sendRequest() {
const host = "api.scrapeless.com";
const url = `https://${host}/api/v2/unlocker/request`;
const API_KEY = 'your_api_key'
const payload = {
actor: "unlocker.webunlocker",
proxy: {
country: "US"
},
input: {
url: "https://www.scrapingcourse.com/cloudflare-challenge",
jsRender: {
enabled: true,
instructions: [
{
waitFor: [
"main.page-content .challenge-info",
30000
]
}
]
}
}
}
try {
const response = await axios.post(url, payload, {
headers: {
'Content-Type': 'application/json',
'x-api-token': API_KEY
}
});
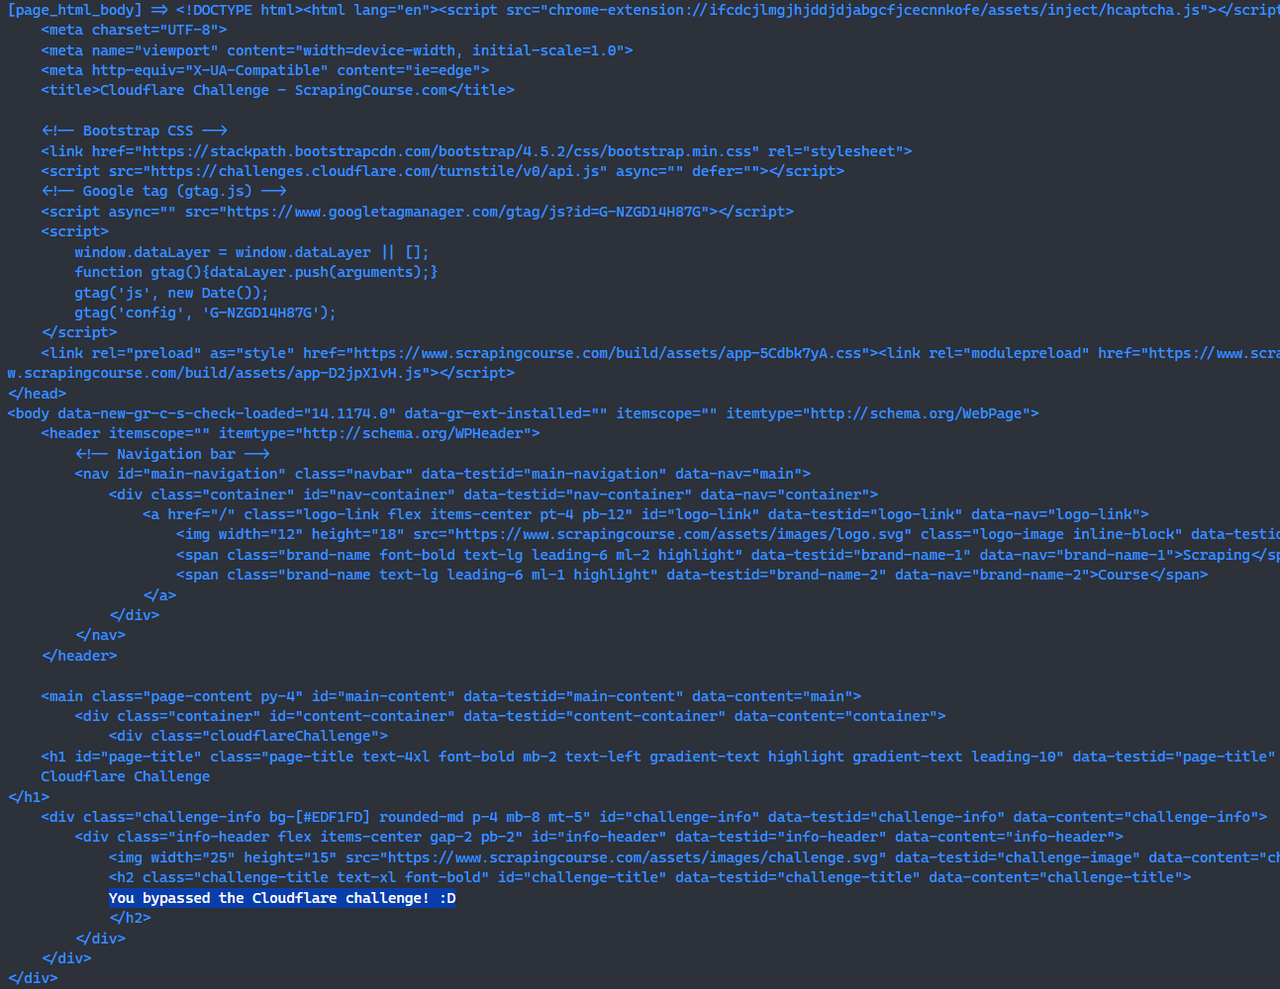
console.log("[page_html_body] =>", response.data);
} catch (error) {
console.error('Error:', error);
}
}
sendRequest();After running the above script, you will be able to see the HTML of the page that successfully bypassed the Cloudflare challenge in the console.